
Pipe Measurement Techniques That Reduce Rework for Plumbers
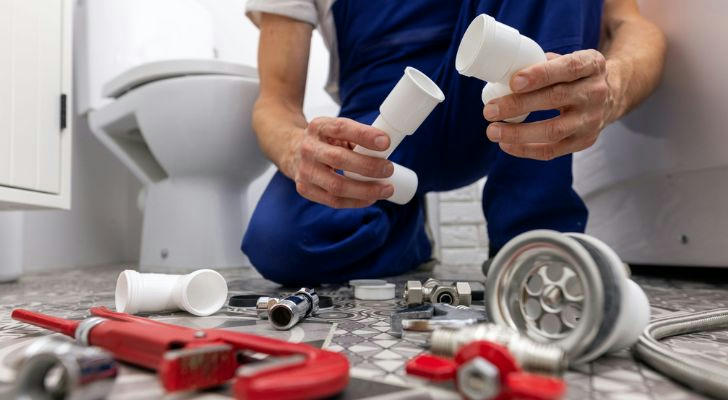
Few things are more frustrating for plumbers than finishing an installation—only to realize the measurements were off by half an inch. Rework not only wastes time and materials, it also damages customer trust and reduces job profitability.
Accurate pipe measurement is the cornerstone of efficient plumbing. Whether working on residential systems or commercial builds, mastering precise and repeatable measurement techniques dramatically reduces callbacks, improves workflow, and boosts your professional credibility.
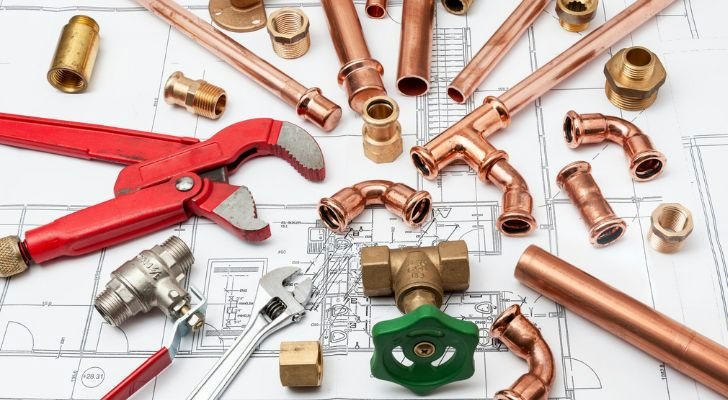
1. Start with the Right Tools for Precision
Great results begin with the right equipment. Traditional tape measures and rulers are plumbing staples, but for high-accuracy work, using specialty tools can make all the difference.
Essential Tools for Accurate Measurement:
- Pipe Calipers: Ideal for measuring outside diameter (OD) and wall thickness.
- Laser Distance Meters: Useful for long pipe runs or in tight spaces.
- Angle Finders and Protractors: For accurate cuts and joints in angled installations.
- Deburring Tools: Smooth edges ensure proper fitting and length accuracy.
- Pipe Templates and Measurement Charts: Help identify standard fitting lengths to subtract from total pipe.
Pro Tip: Choose tools with etched or digital readouts instead of printed ones—they’re more durable and precise over time.
2. Understand the Difference Between Nominal and Actual Size
A common mistake among new and even seasoned plumbers is confusing nominal pipe size with actual dimensions. Knowing this distinction is vital to choosing the right fittings and cutting lengths.
Key Concepts:
- Nominal Size: The label (e.g., ¾”) used in fittings and specs—not the true diameter.
- Outside Diameter (OD): Critical for pipe threading, joining, and fit.
- Wall Thickness: Varies by schedule; affects flow and pressure ratings.
Always refer to pipe sizing charts or manufacturer specifications before making cuts or installing fittings—especially when working across different pipe materials like PVC, copper, and PEX.
3. Factor in Fitting Allowances Before You Cut
When measuring pipe runs, it’s not just the pipe length that matters—it’s the total run including fittings like elbows, tees, and couplings.
How to Account for Fittings Accurately:
- Dry Fit First: Assemble your system loosely to measure the full length visually.
- Use Manufacturer Specs: Each fitting has an insertion depth—subtract this from your pipe cuts.
- Mark Your Insertions: Use a marker to show how far each pipe should go into a fitting during final assembly.
Missing this step can result in misalignments of ½ inch or more per connection—errors that compound quickly on longer runs.
4. Practice the "Measure Twice, Cut Once" Rule Religiously
This age-old advice remains gold for a reason. One incorrect cut not only ruins the pipe—it also requires pulling apart and re-gluing an entire section.
Tips to Improve Measuring Discipline:
- Always Double-Check Before Cutting—especially under pressure or near the end of the day.
- Write Measurements Down Immediately to avoid confusion later.
- Pre-Label Pipes with job-specific information: room, location, fitting type, direction.
This habit reduces error on-site and keeps team members aligned on complex installations.
5. Use Consistent Measurement Reference Points
Inconsistent measuring points can create tiny misalignments that lead to major rework down the line—especially when working with prefabricated systems.
Tips for Consistency:
- Measure from the centerline of fittings whenever possible, especially with bends and offsets.
- Use the same end (male or female) for repeated measurements.
- For threaded connections, include thread length when measuring.
Maintaining this consistency ensures components line up exactly as intended.
6. Work Backwards from Fixed Points
On complex jobs with multiple anchor points—like water heater hookups or wall-mounted valves—measurements should start from the immovable endpoints.
Why It Matters:
- Fixed elements define the system geometry—pipes must connect to them precisely.
- Measuring from loose pipe ends toward anchors often leads to cumulative errors.
- Planning your cuts from “anchor to branch” helps you stay aligned with code spacing, slope requirements, and visual aesthetics.
7. Leverage Digital Tools for Complex Layouts
Technology has become a valuable ally in plumbing work. For installations involving intricate pipe layouts, especially on commercial jobs, digital tools can reduce human error dramatically.
Recommended Digital Aids:
- CAD or Plumbing Design Software: Create accurate pipe runs before stepping onsite.
- Pipe-Fitting Apps: Calculate fitting offsets, angles, and custom cut lengths.
- Digital Templating Systems: Used for pre-cutting pipe offsite with high precision.
These tools help bridge the gap between design and fieldwork, minimizing onsite rework.
8. Final Thoughts: Precision Now Saves Time Later
Rework is not just frustrating—it’s expensive. Accurate pipe measurement isn’t about being perfect, but about being intentional, methodical, and well-equipped. By mastering measurement fundamentals, accounting for fitting offsets, and using both analog and digital tools wisely, plumbers can dramatically reduce job site errors and callbacks.
The result? Smoother installs, cleaner work, and greater confidence from clients who know they’ve hired a true professional.