
Tips for Troubleshooting Common HVAC System Failures
HVAC systems are essential in maintaining comfort in residential and commercial spaces, but they are prone to failure without proper maintenance and monitoring. According to the U.S. Department of Energy, HVAC accounts for nearly 50% of household energy use, and downtime not only disrupts comfort but can lead to increased energy bills and long-term system damage. Quick, accurate troubleshooting is crucial—and that begins with understanding the most frequent failure points and how to assess them with confidence.
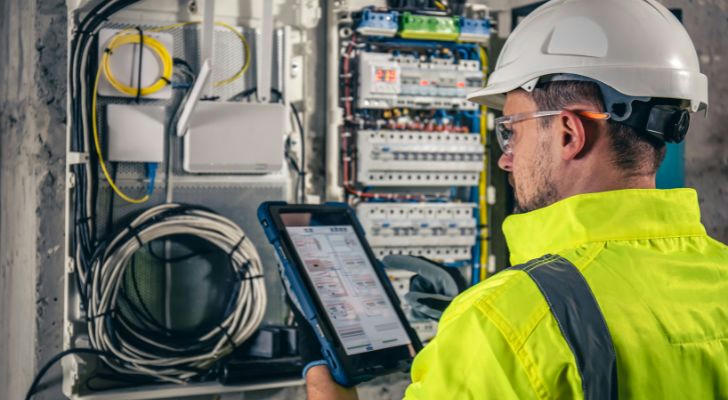
1. Start With Thermostat and Power Supply
Many HVAC issues aren’t mechanical—they start at the thermostat. A study by Emerson Climate Technologies found that up to 30% of no-cooling calls are due to incorrect settings or low thermostat battery power.
What to check:
- Ensure the thermostat is set to “cool” or “heat” as needed.
- Replace batteries in digital models.
- Check for blown fuses or tripped breakers.
- Verify the unit is receiving power from the main board.
Before opening up panels or replacing parts, always verify that the system is calling for heating or cooling and the power supply is intact.
2. Inspect the Air Filters and Airflow
Dirty or clogged air filters are one of the most common and easily preventable causes of HVAC problems. According to the Air Conditioning Contractors of America (ACCA), restricted airflow contributes to 60% of HVAC service calls.
Best practices:
- Replace filters every 30–90 days, depending on use and system type.
- Use MERV-8 to MERV-13 filters for balance between efficiency and airflow.
- Check return vents and supply ducts for blockages or leaks.
- Use a static pressure gauge to detect resistance beyond acceptable levels.
Low airflow can trigger problems in both heating and cooling cycles, such as overheating, coil freezing, and premature compressor failure.
3. Examine Outdoor Condenser Unit
The outdoor condenser is vulnerable to environmental factors—leaves, dust, and ice buildup. According to Carrier technical manuals, condenser issues lead to a 10–20% drop in system efficiency if not cleaned regularly.
Inspection checklist:
- Ensure condenser fan spins freely and is free from obstruction.
- Remove debris from the coil fins and casing.
- Spray the coil with coil cleaner and rinse thoroughly.
- Confirm the compressor is not making unusual buzzing or clicking noises.
A dirty or blocked condenser coil forces the compressor to work harder, raising energy costs and shortening system life.
4. Check Refrigerant Levels and Detect Leaks
Improper refrigerant charge—whether too high or too low—can cause reduced performance, frozen coils, or compressor burnout. EPA regulations require technicians to be Section 608 certified to handle refrigerants safely.
To verify refrigerant charge:
- Connect gauges to the high- and low-pressure ports.
- Measure subcooling (for TXV systems) or superheat (for fixed orifice systems).
- Refer to the manufacturer’s charging chart for proper temperature/pressure correlation.
- Use a UV leak detector or electronic sniffer if low pressure is detected.
Refrigerant leaks are not only inefficient but harmful to the environment and should be addressed immediately.

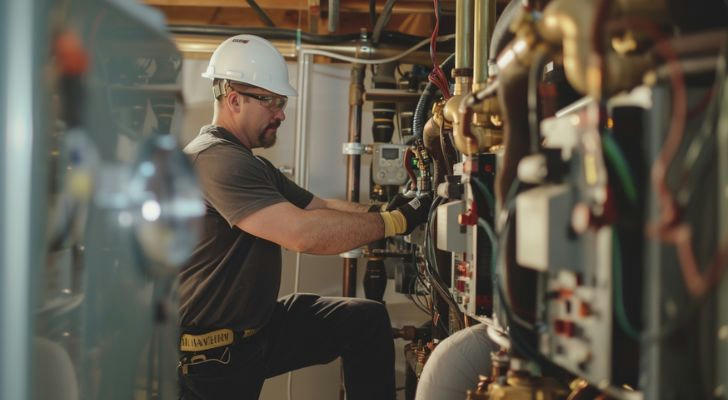
5. Investigate Electrical Components
Electrical failures account for a significant portion of HVAC issues, particularly in older systems. The National Fire Protection Association (NFPA) reports more than 7,000 HVAC-related fires in the U.S. annually due to wiring and component faults.
What to inspect safely (with the power off):
- Check for burnt or frayed wiring inside the control panel.
- Use a multimeter to test capacitors (should be within ±6% of rated μF).
- Inspect the contactor for pitted or corroded terminals.
- Test continuity across relays and transformers.
Always follow lockout/tagout procedures and wear PPE when working on live electrical panels.
6. Drain Line and Pan Maintenance
Condensate issues are often overlooked until they cause water damage or mold growth. Regular inspection and flushing of the drain line can prevent overflow shutdowns.
Drain line checklist:
- Inspect the condensate pan for cracks or rust.
- Use a wet/dry vacuum to clear out blockages.
- Install a float switch to shut the system off before overflow occurs.
- Treat with white vinegar monthly to prevent algae growth.
Neglected drainage can trigger float switches, stopping the system entirely.
7. Decode Diagnostic Error Codes
Modern HVAC systems often display fault codes on their control boards or thermostats. These codes are key to quick diagnosis and should never be ignored.
Use these steps:
- Record the fault code before resetting the unit.
- Refer to the OEM fault code chart.
- Use manufacturer apps like Lennox Pros or Trane Diagnostics for real-time log data.
- Don’t rely solely on the code—use it to guide, not replace, manual inspection.
Understanding fault logic helps reduce repeat service calls and builds trust with clients.
8. Keep a Troubleshooting Log
Professional HVAC technicians document each service visit to track patterns, compare performance, and build a knowledge base over time. Apps like MeasureQuick, HVAC School, and ServiceTitan help streamline this process.
Logging benefits:
- Identifies recurring faults or weak system components.
- Speeds up future diagnostics.
- Provides proof of service for warranty claims.
- Improves customer communication and satisfaction.
Incorporating this habit into your routine sets you apart as a thorough and reliable technician.
9. Final Thoughts
Troubleshooting HVAC failures is as much about strategy as it is about skill. Start with basic checks, follow airflow, examine components with data in hand, and use tools responsibly. Back your work with reputable sources—like ACCA, ASHRAE, and manufacturer guidelines—and you’ll cut diagnosis time while improving repair outcomes.
With accurate techniques and attention to detail, even complex failures become manageable—ensuring systems stay running and customers stay happy.