
Photography for Beginners: Tools, Editing, and Practice Habits
Photography is one of the most accessible and rewarding creative hobbies today. With the rise of smartphones and affordable cameras, anyone can start capturing the world around them. But for beginners, the wide range of gear, editing tools, and creative advice can be overwhelming. The good news: building a strong foundation in photography doesn’t require the most expensive equipment or professional software—it requires the right tools, steady practice, and a solid grasp of the basics. Whether you're interested in portraits, landscapes, or street photography, getting started with confidence is the first step to success.
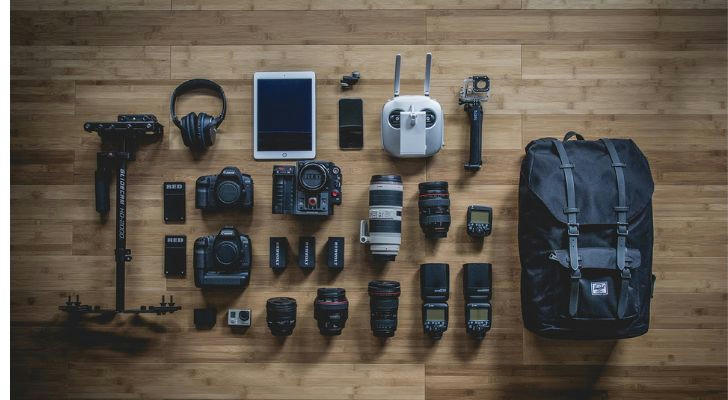
Choosing the Right Tools: Camera, Lenses, and Accessories
You don’t need the latest gear to take great photos—many award-winning photographers emphasize mastery of your current equipment over constant upgrades.
1. Camera Selection
There are three common options for beginners:
- Smartphones – High-end models (like iPhone 14 Pro or Google Pixel 7) now feature multiple lenses, advanced HDR, and manual settings. Many respected photographers, including National Geographic contributors, have shot professional projects using smartphones.
- DSLRs – Entry-level DSLRs like the Canon EOS Rebel T7 or Nikon D3500 offer excellent image quality and manual control. They’re a solid starting point for anyone ready to explore photography more seriously.
- Mirrorless Cameras – Lighter and more compact, mirrorless options like the Sony Alpha a6100 or Fujifilm X-T30 offer fast autofocus, interchangeable lenses, and video capabilities.
📌 Tip from professionals: Whichever you choose, read the manual and experiment with every setting—understanding your gear is more valuable than upgrading it.
2. Essential Lenses
Your choice of lens affects perspective, sharpness, and depth of field.
- Kit lens (18–55mm) – Versatile for beginners, good for everyday scenes.
- 50mm prime (f/1.8) – Known as the "nifty fifty," this lens offers beautiful background blur, sharp results, and works well in low light.
- Wide-angle (10–22mm) – Ideal for landscapes, interiors, and architecture.
- Telephoto/Zoom (55–250mm or 70–300mm) – For distant subjects like wildlife or sports.
📌 Budget tip: Third-party lens brands like Sigma or Tamron offer high-quality lenses at lower prices.
3. Helpful Accessories
- Tripod – Crucial for low-light photography, long exposures, and time-lapse.
- Lens cloth & cleaning kit – Keeps your lens dust-free and image sharp.
- Extra memory cards & batteries – Always carry spares to avoid missed shots.
- Camera bag – Protects your gear and keeps you organized on shoots.
Mastering Editing Basics: Turning Good Shots into Great Ones
Editing refines your photos and helps you develop a unique style. According to Adobe’s creative survey, 73% of photographers consider post-processing an essential part of their workflow.
1. Beginner-Friendly Software
- Adobe Lightroom (desktop/mobile) – Non-destructive editing with presets, great for batch edits and exposure correction.
- Snapseed (free app by Google) – Mobile-friendly with pro-level features like selective adjustments and healing tools.
- Canva Photo Editor – User-friendly for quick edits and graphic layouts.
📌 Start simple: Adjust exposure, white balance, and contrast before exploring advanced tools like curves or masking.
2. Develop a Workflow
Create a consistent editing routine:
- Import photos and back up to cloud or external drive.
- Cull your shots—keep only the best 10–20%.
- Apply basic global edits (light, contrast, color).
- Use local adjustments for fine-tuning.
- Export with appropriate resolution (300dpi for print, 72dpi for web) and organize by date or project.
3. Avoid Overediting
It’s tempting to go heavy on filters, but subtlety is key. Watch out for:
- Over-saturation (unnatural skin tones or skies)
- Excessive sharpening (halo effects)
- Overuse of HDR or vignette
📌 Golden rule: If it looks edited, it’s probably too much. Aim for enhancement, not transformation.
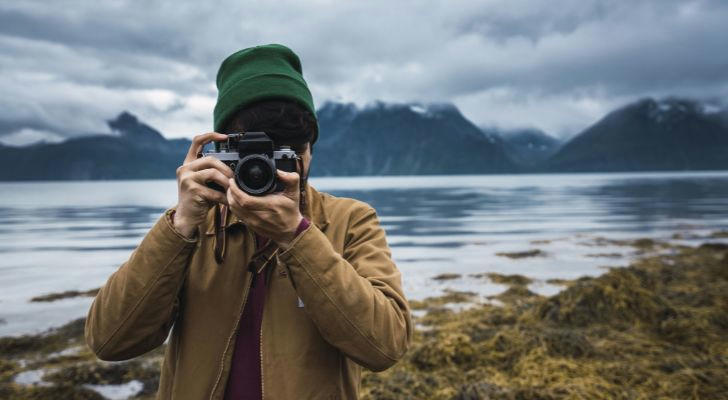
Building Effective Practice Habits
Photography is both an art and a craft. To improve, shoot consistently and reflect often.
1. Daily or Weekly Photo Challenges
Use creative prompts to keep your skills sharp:
- “Reflections in glass or water”
- “Monochrome story”
- “Textures in nature”
📌 Community tip: Join beginner challenges on platforms like Reddit’s r/photography or Instagram hashtags (#photochallenge, #52frames).
2. Master Manual Mode
Understanding the exposure triangle—Aperture, Shutter Speed, ISO—gives you full creative control.
- Aperture (f-stop) – Smaller number = more background blur (shallow depth).
- Shutter Speed – Fast = freeze motion; slow = motion blur or light trails.
- ISO – Lower = cleaner images; higher = better in low light, but more noise.
📌 Practice drill: Shoot the same scene using different settings and compare results.
3. Study Others
Break down images you admire:
- How is the subject framed?
- What’s the lighting direction?
- Are there leading lines or color harmony?
📌 Tip: Look at EXIF data (often available on Flickr or 500px) to see what settings were used.
4. Get Feedback
Post your photos in online communities like DPReview, Flickr, or beginner Facebook groups. Constructive criticism will help you grow faster than working in isolation.
5. Track Your Progress
Create a digital photo journal or folder labeled by month or theme. Seeing improvement over time boosts motivation and helps identify patterns in your style.
Conclusion: Start Simple, Stay Consistent
Photography is a journey of observation, patience, and expression. You don’t need the best gear or expensive software—just curiosity and the drive to practice. Start with your smartphone or entry-level camera, explore editing gradually, and build creative routines that keep you inspired.
Over time, your technical skill will grow, your eye will sharpen, and your confidence will bloom. More importantly, you’ll start seeing the world differently—through the lens of light, form, and story. Whether capturing memories, emotions, or everyday moments, photography becomes more than a hobby—it becomes your voice.